What To Expect During A Professional Roof Replacement Project
A new roof is a major investment that protects your home from the elements. Knowing what happens during the process helps you prepare your family and your property for the work ahead. Most projects follow a specific timeline to ensure the structure remains safe and dry.
Contents
Initial Inspection and Planning
Every project starts with a detailed look at the current state of your home. Experts suggest that a roof replacement begins with a structured assessment to check the condition of current coverings, flashings, and drainage. This step allows the crew to identify hidden problems before they start pulling off shingles.
Technicians often use modern tools to get exact measurements of the slopes and peaks. Some companies now use drones to take precise measurements for 3D renderings during the planning phase. These images help the team order the right amount of material and avoid delays.
Protecting Your Property
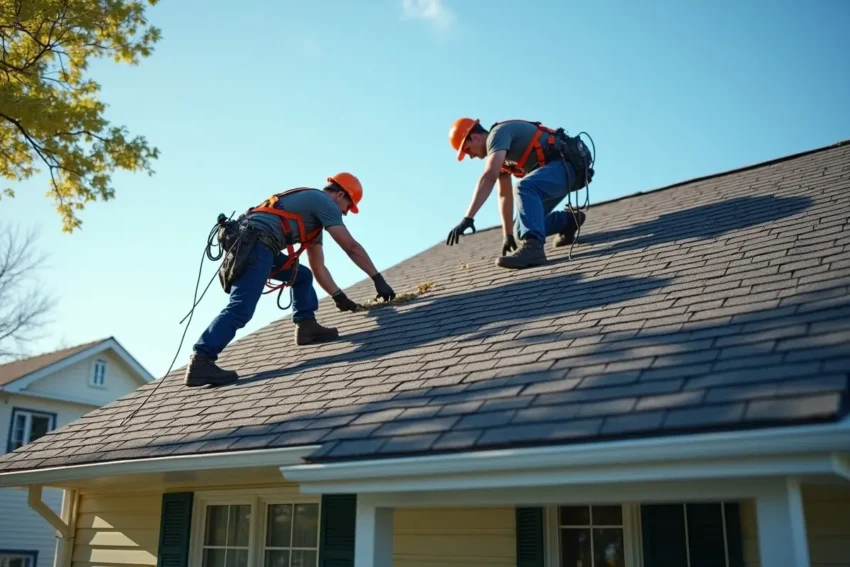
Roofing is a messy job that involves heavy materials and thousands of nails. Before the first shingle is removed, the crew will place heavy-duty tarps around the perimeter of your house. These tarps catch debris and protect your landscaping, bushes, and flower beds from falling waste.
Workers might also move patio furniture or grills away from the splash zone. You should move your cars to the street to keep the driveway clear for delivery trucks and dumpsters. Taking these small steps helps prevent accidental damage to your personal items.
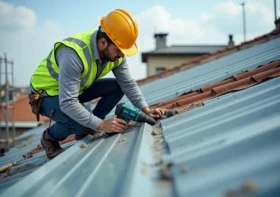
Tearing Off the Old Layers
The crew begins by stripping away the existing materials down to the wooden deck. This part of the day is usually the loudest and creates the most dust. Removing every layer is the only way to find underlying issues that might cause leaks later.
If you have a damaged surface, you might need tile roof repair services to fix the structural base before new materials go on. A solid foundation is required for the new roof to last its full lifespan. Contractors will swap out any soft or rotting wood they find during this phase.
Inspecting the Roof Decking
Once the old materials are gone, the team looks closely at the wood sheets. A recent guide mentioned that once old materials are removed, the roof deck is inspected for rot, water damage, or structural weaknesses. If the wood is healthy, they can proceed with the installation.
Signs of Deck Damage
- Dark stains or mold growth on the wood
- Soft spots that feel “spongy” when walked on
- Large gaps or sagging between the rafters
- Rusted nails or damp insulation in the attic
Fixing these issues now prevents the new roof from failing prematurely. It is much cheaper to replace a few sheets of plywood than to tear up a new roof in 2 years.
Installing the Underlayment
The underlayment acts as a secondary shield against moisture. It is a water-resistant barrier that sits between the wood deck and the final roofing material. This layer is vital for preventing leaks during heavy wind-driven rain or ice dams.
Teams usually install a drip edge along the perimeter to control water flow away from the fascia boards. This metal flashing keeps water from soaking into the edges of the wood. After the drip edge is set, the synthetic underlayment is rolled out and fastened securely.
Precise Shingle Placement
Now the home starts to look new again as the visible materials are applied. The crew starts at the bottom edges and works their way up toward the peak. They use specific patterns to ensure water sheds correctly and the roof looks uniform.
A contractor will usually start by installing starter shingles along the bottom and side edges of the roof deck for maximum protection. These specialized shingles create a seal that prevents wind from lifting the edges of the roof. Each piece is nailed down using high-pressure pneumatic tools.
Proper Ventilation Systems
A roof needs to breathe to prevent heat and moisture build-up in your attic. Without proper airflow, your shingles can actually “cook” from the underside during hot summers. Most modern projects include the installation of ridge vents or solar fans.
Good ventilation also helps lower your energy bills by keeping the attic cooler. It prevents ice dams in the winter by maintaining a consistent temperature across the roof surface. Your contractor will check that intake vents under the eaves are clear and working right.
Understanding the Costs
Budgeting for this project requires looking at current market trends and material prices. The national average cost to replace a roof in 2024 is approximately $9,526, though prices can vary based on materials. High-end options like metal or tile will push this number much higher.
Factors Influencing Your Quote
- The total square footage and pitch of the roof
- The type of material chosen (asphalt, metal, or tile)
- The number of stories and ease of access for the crew
- Local labor rates and permit fees in your area
Getting multiple quotes helps you understand the fair market value for your specific home. Most reputable contractors provide a detailed breakdown of where every dollar goes.
Taking the time to understand each step makes the noise and mess much easier to handle. Your home is now better protected against storms and will look fresh for decades to come. A professional installation gives you the confidence that your family stays dry and safe regardless of the weather outside.