Designing Kitchens Where Fridges Look Good and Work
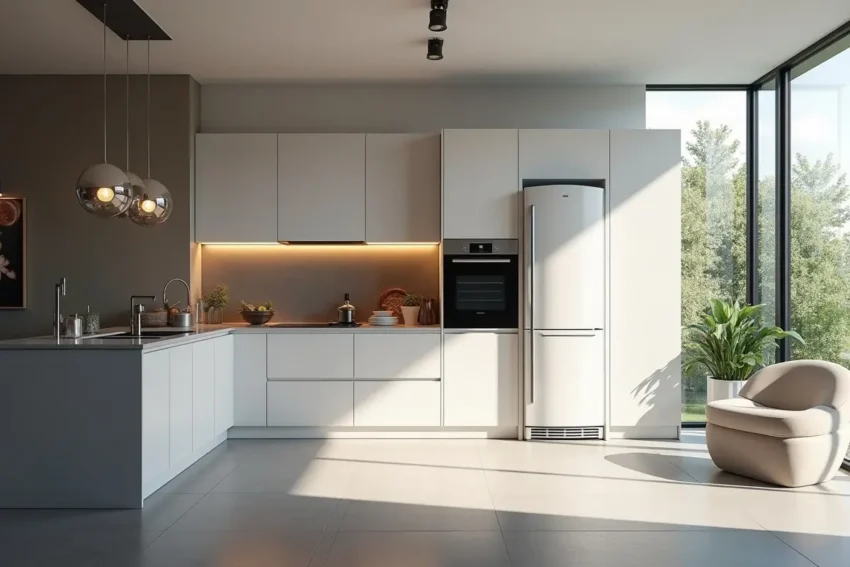
Open a modern kitchen concept and your eye often goes to the cold line. Glass doors glow. Stainless faces reflect light. Handles line up with cabinet grooves. Refrigeration is no longer a back-of-house box. It is a visible object that sets rhythm and mood.
For hospitality teams planning new spaces and for artists building photoreal renders, the fridge is part of the story.
If you need local pricing and service context while planning equipment, you can review options for commercial refrigeration in Toronto as a reference point for formats, sizes, and warranties that are common across Canada.
Contents
- 1 Start with the format that fits the work
- 2 Make the face work with your palette
- 3 Plan light and reflections before you pick a model
- 4 Give machines the room to breathe
- 5 Shape the interior for product and service
- 6 Keep noise, power, and care in the design brief
- 7 What 3D artists need for accurate models
- 8 Put performance and style on the same page
Start with the format that fits the work
Begin with how the kitchen needs to move. A quick service line will not use the same units as a tasting counter or a bakery.
Reach in refrigerators and freezers suit back walls and prep zones. They offer simple faces that can sit clean with tall storage or paneled walls. Two or three doors give balanced proportions in wide rooms.
For guest facing areas, glass door merchandisers show product and can double as a design feature. In renders, a three door glass unit can act like a light wall when stocked and lit.
Undercounter fridges and prep tables support cooks at the line. Their low height lets you keep sightlines open. Drawers read as strong horizontal bands. Doors read as larger planes. Pick based on how often staff bend and how heavy the pans are.
Display coolers for drinks bring color into the scene. If you plan a warm wood interior, check how label colors will read against it. Plan shelf heights so common bottle sizes sit clean, with no crowding.
Make the face work with your palette
Stainless steel is a safe base. It is neutral, easy to clean, and reflects the room. In a 3D workflow, it needs a subtle brushed texture, a soft anisotropic highlight, and fingerprints toned down so the surface does not look dirty at normal viewing distance.
Glass doors add depth. You see the product, the shelf wires, and the room reflections. To keep visuals calm, choose simple door rails and narrow mullions. On wide units, align mullions with cabinet seams nearby so the grid feels planned.
If the room leans warm, powder coated panels or vinyl wraps can soften the look. Matte finishes cut glare and make forms read clearly in both photos and renders. If you use color, repeat it in two or three other places, such as stool bases or menu holders, so the fridge does not stand alone.
Plan light and reflections before you pick a model
Lighting decides whether refrigeration looks premium or messy. Interior LED strips should give even light from top to bottom. Hot spots on the first shelf and dark zones at the base will break the image.
In CGI, use real world values for luminance so glass doors do not blow out. Place area lights that match ceiling fixtures and check how handles catch highlights. Add soft flags on the sides if you must lower stray reflections on adjacent stainless panels.
In real builds, test sample doors on site with overhead lights on dim and full output. Make sure you can see product labels without glare.
If your concept uses backbar mirrors, review how fridge doors double the reflections. You may need a non reflective glass option. Many manufacturers offer low reflectance coatings. Note that these coatings can shift color. Render a close crop of labels to check tones.
Give machines the room to breathe
A good looking install still needs airflow and clearances. Commercial fridges reject heat. They pull air through front grilles or from the sides, then vent out. If you box a unit in too tight, it runs hot, makes more noise, and fails sooner.
ENERGY STAR gives general advice on placement and maintenance that helps reduce heat load and power use. You can reference their commercial refrigeration guidance for common best practices on airflow and door use patterns.
Leave service space where it will not show. That can mean a shadow gap at the base, a removable panel above, or a side panel that unlatches. In models for visualization, build these gaps into the geometry so the design reflects the real install.
Add small floor guides in your plans so crews set units with the right offset.
If your room is compact, note that compressor exhaust raises local temperature. This affects guest comfort and can shift how ice and chocolate displays behave.
ASHRAE materials on commercial kitchen ventilation discuss capture and heat loads that can help you size makeup air and hood strategies for equipment zones, even when there is no cooking under a hood nearby.
Use this to check that the cold line will not fight the HVAC plan later.
Shape the interior for product and service
Shelves, dividers, and door storage decide how a unit looks from five meters away. Regular spacing reads tidy. Stocking rules keep the view consistent through a rush. In glass door units, choose shelf fronts that hide price tags and clips.
Set shelf pitch for the main product heights you expect, then keep one flexible row for seasonal items.
For prep tables, the pan rail raises the visual height. Test where the line cook’s hands will sit and whether guests can see over the lid. In renders, show light food in the top pans and darker mixes lower. This keeps the read clean.
Door swing also shapes the picture. If a door will block a walkway while open, look at sliding doors. If you need fast access in a tight corner, split doors reduce the swing radius. Handles should match other steel pulls in the room so hands find them without thought.
Keep noise, power, and care in the design brief
Forms and finishes get attention, but daily sound and power use carry real weight. A room with several compressors can hum. Place louder units away from guests.
If that is not possible, look for quieter condenser options or remote compressor setups that move the sound and heat to another space.
Energy performance lowers cost and helps your project meet broader goals. Self closing doors, better gaskets, and LED lighting all help. Staff habits matter too. Frequent door openings raise energy use and change case temperature.
Plan cleaning from day one. Fingerprints on stainless, dust on front grilles, and smudged glass shift a room from sharp to tired. Choose handle shapes that clean in one wipe. Confirm that casters lock and unlock easily.
Make sure the floor finish under units can handle occasional moves for deep cleans.
What 3D artists need for accurate models
Designers and visualizers can raise quality by modeling the real product, not a generic box. Collect exact width, depth, height, door swing, handle type, and vent locations. Ask for CAD or BIM blocks.
If you cannot get them, build from a precise spec sheet and add small details that sell scale, such as gasket seams, hinge caps, and shelf clips.
Material maps should include brushed normals for steel, light fingerprints at grazing angles, and mild smudge maps on glass. Set interior light temperature to match the room so product color stays true.
Use instanced bottles and cans with real label proportions. This keeps density natural without heavy scene files.
Finally, render a few close slices at life size. If it looks good at 100 percent zoom, it will look right in the final frame.
Put performance and style on the same page
When refrigeration is treated as part of the design from the start, the room looks calm, service runs faster, and the images sell the story.
Pick the right format, plan light and reflections, leave room for air and hands, and model the real hardware. Do this and your cold line will look good and work hard for years.